Complete Guide to Shower Glass Installation in Vancouver Homes
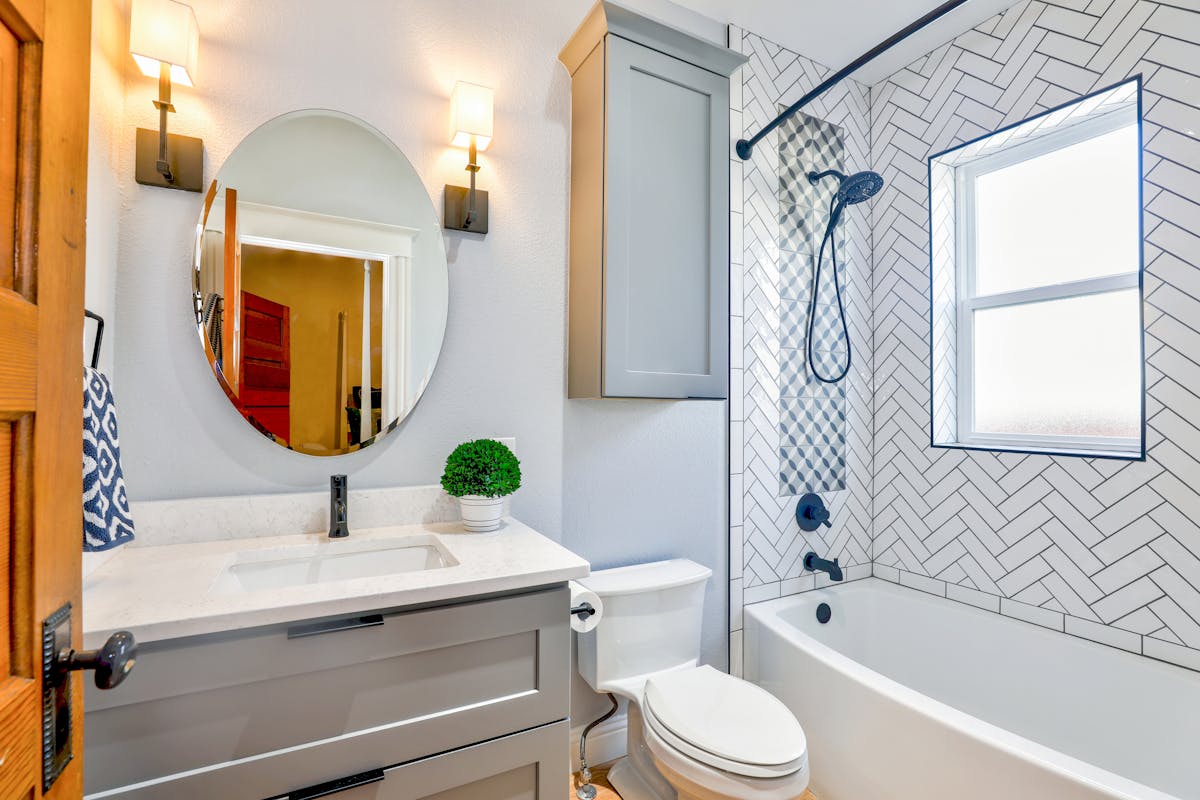
Why Choose Glass Shower Enclosures?
Glass shower enclosures have become the standard in modern bathroom design, and for good reason. They create an open, spa-like atmosphere that makes even small bathrooms feel more spacious. Unlike shower curtains or outdated framed enclosures, frameless and semi-frameless glass showers offer a clean, elegant aesthetic that enhances your home's value.
For Vancouver homeowners, glass showers address our region's moisture challenges better than alternative enclosures. Properly installed glass enclosures resist mold and mildew, making them ideal for our humid climate.
Types of Shower Glass Enclosures
Frameless Glass Showers
Frameless shower enclosures represent the pinnacle of modern bathroom design. These installations use thicker tempered glass (typically 3/8" or 1/2") with minimal hardware, creating a seamless, floating appearance. The absence of frames means fewer places for water and soap scum to accumulate.
Benefits of frameless showers:
- Sleek, contemporary aesthetic
- Easier to clean without frame channels
- Increases bathroom's perceived space
- Higher resale value
- Custom sizing for any bathroom layout
Semi-Frameless Showers
Semi-frameless enclosures strike a balance between style and budget. These designs use frames on structural panels while leaving the door frameless. This approach reduces cost while maintaining much of the modern aesthetic homeowners desire.
Framed Showers
Traditional framed enclosures use metal frames around all glass panels. While less popular in high-end renovations, framed showers remain a cost-effective option for budget-conscious projects. They work well in rental properties or as temporary solutions.
Choosing the Right Glass
Glass Thickness
Thickness affects both aesthetics and structural integrity:
- 1/4" glass: Budget option, typically used with frames for support
- 3/8" glass: Standard for semi-frameless enclosures
- 1/2" glass: Premium choice for frameless installations
- 3/4" glass: Ultra-premium, used in high-end custom projects
Thicker glass provides better sound dampening and a more substantial, luxurious feel when opening and closing doors.
Glass Treatments
Clear Glass
Standard clear tempered glass provides the most open, spacious appearance. It showcases beautiful tile work and requires regular cleaning to maintain its pristine look.
Frosted or Obscured Glass
Privacy glass uses acid etching or sandblasting to create a translucent appearance. This option works well for shared bathrooms or when the shower faces a window or door.
Low-Iron Glass
Also called ultra-clear glass, this premium option removes the green tint present in standard clear glass. It provides exceptional clarity and showcases tile and stone beautifully.
Coated Glass
Protective coatings like ShowerGuard repel water and soap scum, making cleaning significantly easier. While these treatments increase initial cost, they save time and effort in daily maintenance.
Hardware and Design Options
Hinges and Handles
Hardware choices significantly impact both aesthetics and functionality:
- Brushed nickel: Versatile, hides water spots well
- Chrome: Classic, modern appearance
- Matte black: Contemporary, dramatic statement
- Oil-rubbed bronze: Traditional, warm aesthetic
- Brass: Luxurious, trending in high-end designs
Door Configurations
Your bathroom layout determines the best door style:
- Swing doors: Most common, require clearance space
- Sliding doors: Space-saving for smaller bathrooms
- Pivot doors: Dramatic opening for larger showers
- Bi-fold doors: Compact solution for tight spaces
Installation Process
Measurement and Planning
Professional installation begins with precise measurement. Even minor errors can lead to water leakage or poor door operation. Experienced installers account for:
- Wall plumbness and straightness
- Curb or pan dimensions and level
- Fixture locations (valves, showerheads)
- Tile or wall finish thickness
- Required hardware clearances
Waterproofing Considerations
Proper waterproofing is critical in Vancouver's humid climate. Installation includes:
- Silicone sealing at all glass-to-wall and glass-to-curb joints
- Door sweeps at the bottom of doors
- Proper drainage slope on shower curbs
- Quality caulk products designed for continuous water exposure
Timeline
Professional shower glass installation typically takes:
- Initial consultation and measurement: 1 hour
- Glass fabrication: 1-2 weeks
- Installation: 4-8 hours
- Curing time before first use: 24-48 hours
Cost Considerations
Shower glass installation costs vary based on several factors:
Size and Configuration
Larger showers or complex layouts (neo-angle, curved) cost more due to increased glass area and custom fabrication.
Glass Type and Thickness
Budget installations with framed 1/4" glass start around $800-1,200. Premium frameless 1/2" glass enclosures typically range from $2,000-4,000 or more for large custom installations.
Hardware Quality
Premium hinges, handles, and support bars increase cost but provide better durability and aesthetics.
Special Features
Coated glass, custom etching, colored glass, or unique hardware designs add to the base price.
Maintenance and Care
Proper maintenance keeps your glass shower looking new:
Daily Care
- Squeegee glass after each use
- Leave door or panel open for ventilation
- Wipe down hardware to prevent water spots
Weekly Cleaning
- Use a glass cleaner or mild soap solution
- Clean door tracks and hinges
- Inspect silicone seals for any separation
Deep Cleaning
- Remove mineral deposits with vinegar solution
- Polish hardware with appropriate cleaner
- Re-seal if necessary (typically every 1-2 years)
Common Problems and Solutions
Water Leakage
Leaks usually indicate:
- Deteriorated silicone seals (needs recaulking)
- Door sweep wear (replacement needed)
- Improper door alignment (adjustment required)
- Insufficient slope on curb (may need reconstruction)
Hard Water Stains
Vancouver's water quality can lead to mineral buildup. Solutions include:
- Regular cleaning with vinegar
- Installing a water softener
- Using protective glass coatings
- Professional restoration services for severe buildup
Building Code Requirements
All shower glass installations in BC must meet building code requirements:
- Safety glass (tempered or laminated) mandatory
- Minimum thickness standards based on configuration
- Proper anchoring to structural elements
- Adequate ventilation in bathroom
Professional installers ensure all installations meet or exceed code requirements, protecting your investment and ensuring safety.
Return on Investment
Quality shower glass installation provides excellent ROI:
- Increases home value by 5-10% of installation cost
- Major selling point in real estate listings
- Modernizes dated bathrooms cost-effectively
- Provides lasting satisfaction through improved daily use
Choosing Your Installer
Select installers based on:
- Experience with frameless installations
- WorkSafeBC certification and insurance
- Portfolio of completed projects
- Customer reviews and references
- Comprehensive warranties
- Post-installation support
Conclusion
Shower glass installation transforms your bathroom into a spa-like retreat while adding tangible value to your Vancouver home. By understanding your options for glass type, hardware, and installation quality, you can make informed decisions that meet your aesthetic preferences and budget.
Ready to upgrade your bathroom with custom shower glass? Contact Vancity Glass for a free consultation and quote. Our experienced team specializes in frameless and semi-frameless shower enclosures throughout Vancouver and the Fraser Valley.